The wrap market continues to grow as more shops and individuals are getting into wraps. This includes print wraps for commercial use, as well as decorative wraps, which can be color change, printed or even a combination of color change and printed graphics. This blog contains six tips to help those of you getting started in the world of wraps.
Location
Make sure you have a clean, dry, well lit and climate controlled area to work. Dust and dirt are enemies when it comes to wrapping. If a tiny particle of dirt or another contaminate, such as a stray hair, get under the vinyl, it will be magnified and very visible in the wrap. Wrapping indoors out of the wind is essential to high quality. Climate control is very important - too hot and the film becomes very soft and difficult to work with. If it’s too cold, the film becomes stiff and hard to apply. The ideal temperature range is around 70-85℉.
Check for Damage
Film manufacturers have guidelines for where the film is and is not warranted. We do not warrant against paint damage if the vehicle is beyond a certain age, if the paint is in poor condition or not OEM paint. This is because the paint on these cars is susceptible to damage during install or when the film is removed. To protect yourself, please be sure to read the Product Data Sheet for the film you are using to better understand what is and what is not covered.
Also, before doing an installation be sure to inspect the vehicle and look for existing damage. Instructional Bulletin 6.40 provides information on installation for vehicles, as well as an inspection form. When a car comes in, do an inspection and document any issues on the vehicle. Take photos, and let the customer know these are potential areas for damage to the vehicle when the graphic is removed. It is important to show your customer these areas of concern and have them sign off that they understand before you begin your wrap. You can use your own form if you choose to create one. I have seen forms shared on various forums. This is to protect you, the installer.
Clean and Prep Car
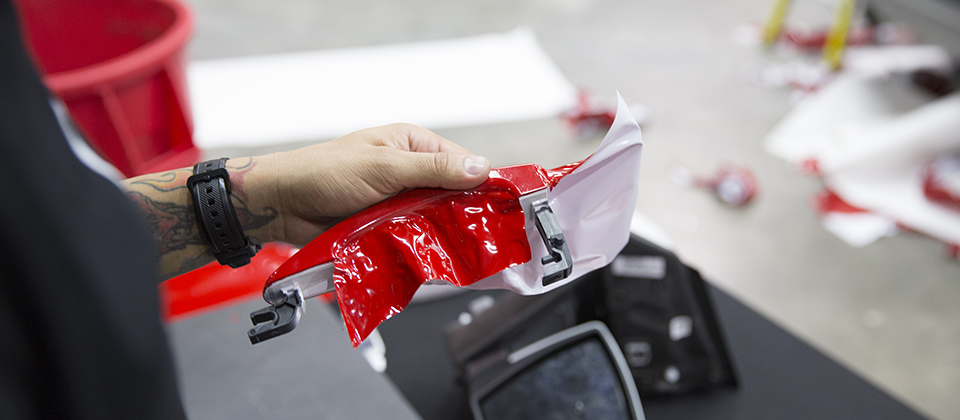
The type of wrap you are doing can dictate what is needed in terms of removing parts of the car in preparation of the wrap. If you are doing a color change, it is ideal to have no seams showing at all. This means you want to take off anything attached to the car, so you can wrap behind it as well as wrap that object off of the car. This includes mirrors, door handles, shark fin antennas and sometimes even doors and bumpers. Removing doors and bumpers is pretty extreme, but it is done to accomplish a complete color change where the door jambs are wrapped. If you go to this extreme, be sure to charge accordingly.
For most commercial (printed) wraps, taking off mirrors and maybe door handles is likely all that is required. This step is as much to help make your installation easier as it is to avoid seams and improve the overall look of your wrap.
Once you remove the necessary parts, then it is time to remove all dirt, bugs, tar and other road grime from the car. You may need to use cleaners other than isopropyl alcohol for this. I like to use the Avery Dennison surface cleaner or even the heavy duty cleaner for this. These cleaners work well to remove bugs, tar and other difficult-to-clean contaminants. Once the vehicle is clean, do a final cleaning with isopropyl alcohol. Make sure to get around all the doors, windows, body lines, etc. Dirt can easily ruin an install.
Make a Plan
Take a few minutes to plan your install. Look at the bumpers. Do you need inlays? Where will you use Knifeless? Are there areas where you will need to pre-stretch the film? Where will you start your wrap? Can you work alone, or do you need a second set of hands?
Lay it Out
If you are doing a print wrap, make sure you lay out the graphics before starting the install. I've heard stories from installers that a different model of vehicle showed up instead of the one for which the wrap was designed. It is better to know what you are getting into and that you make adjustments before you install the first piece of film.
If you are doing color change, it is a good idea to precut and label your pieces, as this helps to avoid handling unnecessarily large pieces of film.
Get Educated
Learning how to install from a professional is the quickest way to get up to speed. Wrap classes like the Avery Dennison classes with Justin Pate are an excellent way to learn firsthand from a professional, as well as get hands on time with the film. The advantage of a wrap class is you can practice and have an expert available to provide guidance.
Online videos are also helpful. The Wrap Institute is an excellent resource as well. This is a subscription based program with hundreds, if not thousands, of videos at your fingertips to view anytime you choose. Installers from all over the world have found this to be a valuable source of information.
To learn more about our Graphics Solutions, visit us at: graphics.averydennison.com.
Stay up-to-date on all the latest from Avery Dennison. Connect with us on Social Media.